

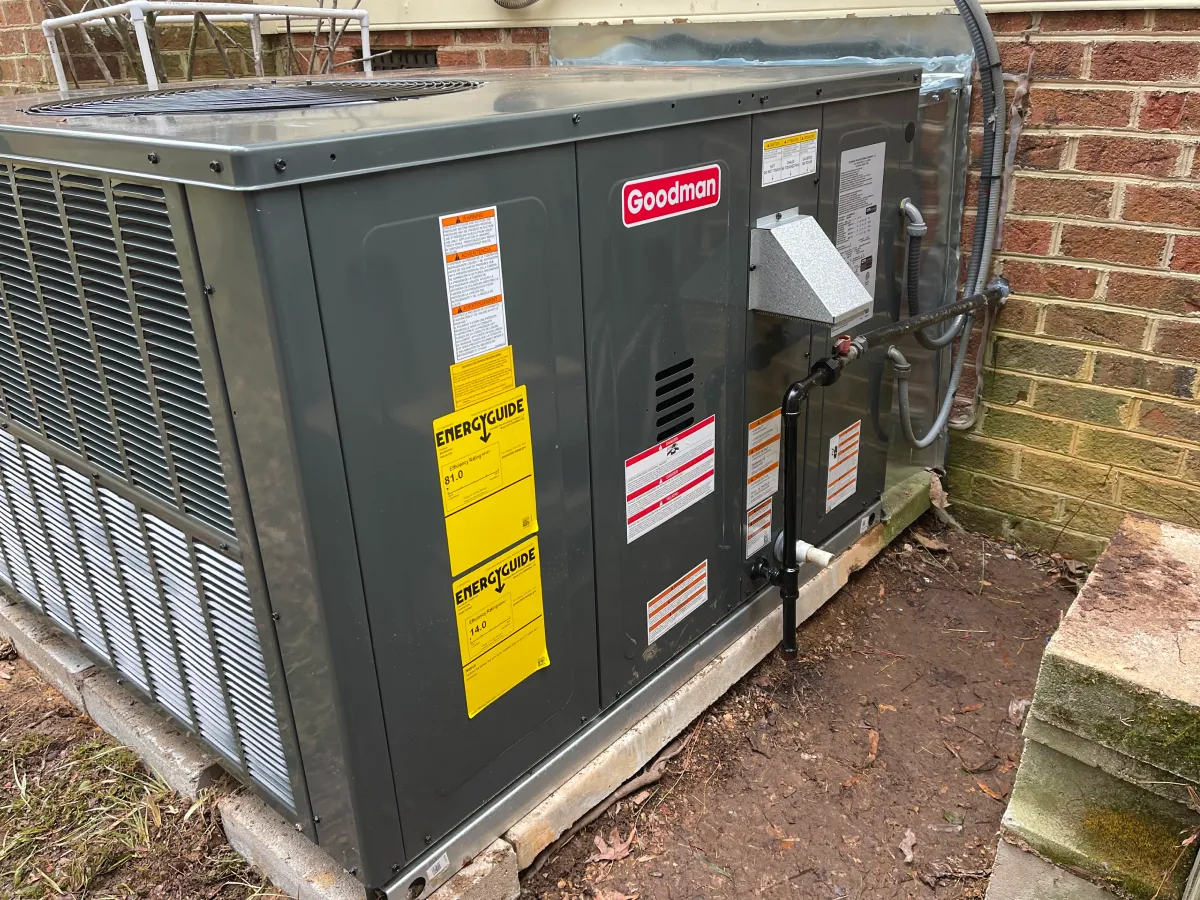
Shut Down Your System Before Any Work
Before touching anything on your heating system, safety comes first. Locate your furnace’s main power switch, typically found on or near the unit itself. This switch looks similar to a standard light switch and should be turned to the off position. Next, head to your electrical panel and flip the circuit breaker that controls your furnace to ensure no electricity flows to the unit during maintenance.
For gas-powered systems common throughout Creedmoor and Durham, locate the gas valve on the supply line leading to your furnace. Turn this valve perpendicular to the pipe to shut off gas flow completely. This step prevents any potential gas leaks while you work on the system. Allow your furnace to cool for at least 30 minutes before proceeding, especially if it was recently running. Furnaces in North Carolina homes often cycle frequently during our cold snaps in January and February, so components can retain significant heat.
Always verify that power is truly disconnected by attempting to adjust your thermostat. If the furnace does not respond, you’ve successfully isolated the power. This simple precaution protects both you and your heating equipment from damage during routine maintenance.
Install a Fresh Filter for Better Airflow
The air filter represents the single most important component you can maintain yourself. Located either inside the furnace cabinet or in a return air vent, this filter traps dust, pollen, and debris before they reach your system’s internal components. A clogged filter forces your furnace to work harder, dramatically reducing performance and increasing energy consumption by up to 15 percent.
Remove the existing filter by sliding it out of its housing. Check the filter’s dimensions, typically printed on the cardboard frame, such as 16x20x1 or 20x25x4. Hold the old filter up to a light source. If you cannot see light passing through easily, the filter is overdue for replacement. In homes around Raleigh and Wake Forest, where spring pollen counts soar and summer humidity encourages mold growth, filters often need changing every 30 to 60 days rather than the standard 90-day recommendation.
Purchase a replacement filter with the correct dimensions and a MERV rating between 8 and 11 for optimal balance between filtration and airflow. Higher MERV ratings provide better filtration but can restrict airflow in older systems. Slide the new filter into place, ensuring the airflow arrows printed on the frame point toward the furnace and away from the return duct. This simple task alone can restore lost heating capacity and lower monthly utility bills.
Remove Dust Buildup from Critical Components
Open the furnace cabinet by removing the access panel, usually held in place by screws or clips. Inside, you’ll find the blower assembly, which contains a large fan wheel responsible for circulating warm air throughout your home. Over months of operation, this compartment accumulates a surprising amount of dust and debris that reduces airflow and forces your system to run longer cycles.
Using a vacuum with a brush attachment, carefully remove visible dust from the blower housing, motor, and surrounding areas. Pay special attention to the fan blades themselves, which often develop thick coatings that throw the wheel off balance and create noise. A soft-bristled brush can help dislodge stubborn buildup between blades. For homes in Creedmoor and surrounding areas with older HVAC ductwork, you may notice more dust accumulation due to small leaks that pull in attic or crawlspace air.
While cleaning, inspect the blower belt if your system uses one. Look for cracks, fraying, or glazing on the belt surface. Check belt tension by pressing down on the center; it should deflect about half an inch with moderate pressure. Wipe down any accessible surfaces inside the cabinet with a slightly damp cloth, but avoid getting moisture near electrical components or the motor. This cleaning improves airflow immediately and helps your blower motor run cooler and last longer.
Keep Your Ignition System Functioning Properly
The flame sensor serves as a critical safety device that detects whether your burners have ignited successfully. When this small metal rod becomes coated with carbon deposits or oxidation, it can no longer sense the flame properly, causing your furnace to shut down shortly after ignition. This manifests as short cycling, where the furnace starts, runs for a few seconds, then shuts off repeatedly.
Locate the flame sensor inside the burner compartment. It typically appears as a thin metal rod, about the length of a pencil, positioned to sit in the path of the burner flame. Remove the sensor by loosening the mounting screw and gently pulling it free from its bracket. Use fine-grit sandpaper or an emery cloth to gently polish the metal rod until it shines. Avoid using sandpaper that’s too coarse, as you want to remove deposits without scratching the metal surface.
Some homeowners in Morrisville and Cary who use well water notice faster sensor deterioration due to higher mineral content in household humidity. After cleaning, reinstall the sensor in its original position, ensuring it sits correctly in the flame path but doesn’t touch the burner itself. Tighten the mounting screw snugly but not overtight. This simple maintenance task prevents the most common cause of furnace shutdown and can save you an emergency service call during the coldest nights.
Prevent Water Damage from Condensate Backup
High-efficiency furnaces produce condensation as a natural byproduct of the heating process. This moisture drains away through plastic tubes connected to a floor drain, condensate pump, or exterior drainage point. When these lines become clogged with algae, mold, or debris, water backs up into your furnace, triggering safety switches that shut down the entire system.
Locate the condensate drain line, usually a clear or white PVC tube about three-quarters of an inch in diameter. Follow this line to find the drain trap, which resembles the P-trap under your kitchen sink. Many traps have a cleanout port with a removable cap. Remove this cap and flush the trap with a mixture of one cup white vinegar and one cup warm water. The vinegar kills algae and dissolves biofilm without damaging plastic components.
Use a small bottle brush or pipe cleaner to physically remove any visible buildup inside the trap. Pour an additional cup of the vinegar solution through the line to clear the downstream piping. In the humid climate of Durham and Butner, condensate lines clog more frequently than in drier regions, so quarterly maintenance proves beneficial. If your system uses a condensate pump, remove the cover and clean the reservoir with the same vinegar solution. Check that the pump activates when you pour water into the reservoir. Clear drainage prevents water damage to your furnace and maintains efficient operation throughout the heating season.
